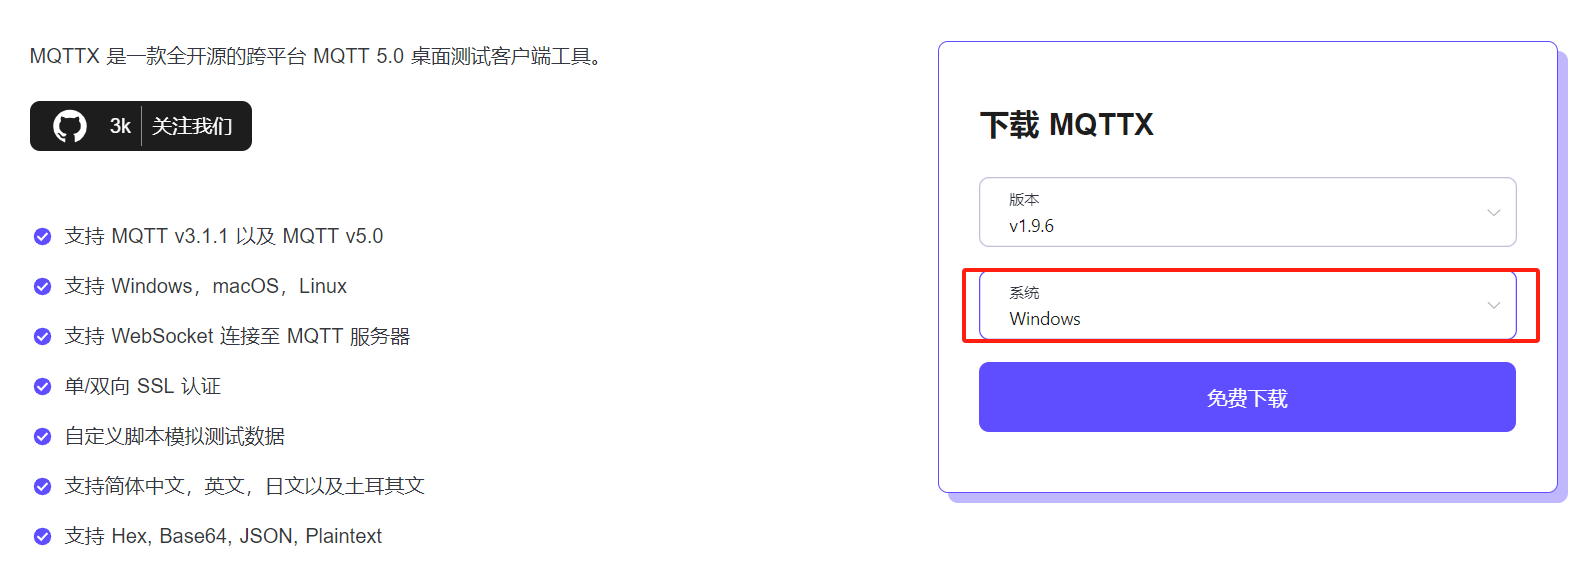
技术杂谈JAVAMQTTRuoYi-Vue前后端分离搭建MQTT服务器实现消息订阅、发布
Ocean1.在RuoYi-Vue项目的ruoyi-common模块下的pom.xml加入jar依赖
1
2
3
4
5
6
7
8
9
10
11
12
13
|
<dependency>
<groupId>org.springframework.boot</groupId>
<artifactId>spring-boot-starter-integration</artifactId>
</dependency>
<dependency>
<groupId>org.springframework.integration</groupId>
<artifactId>spring-integration-stream</artifactId>
</dependency>
<dependency>
<groupId>org.springframework.integration</groupId>
<artifactId>spring-integration-mqtt</artifactId>
</dependency>
|
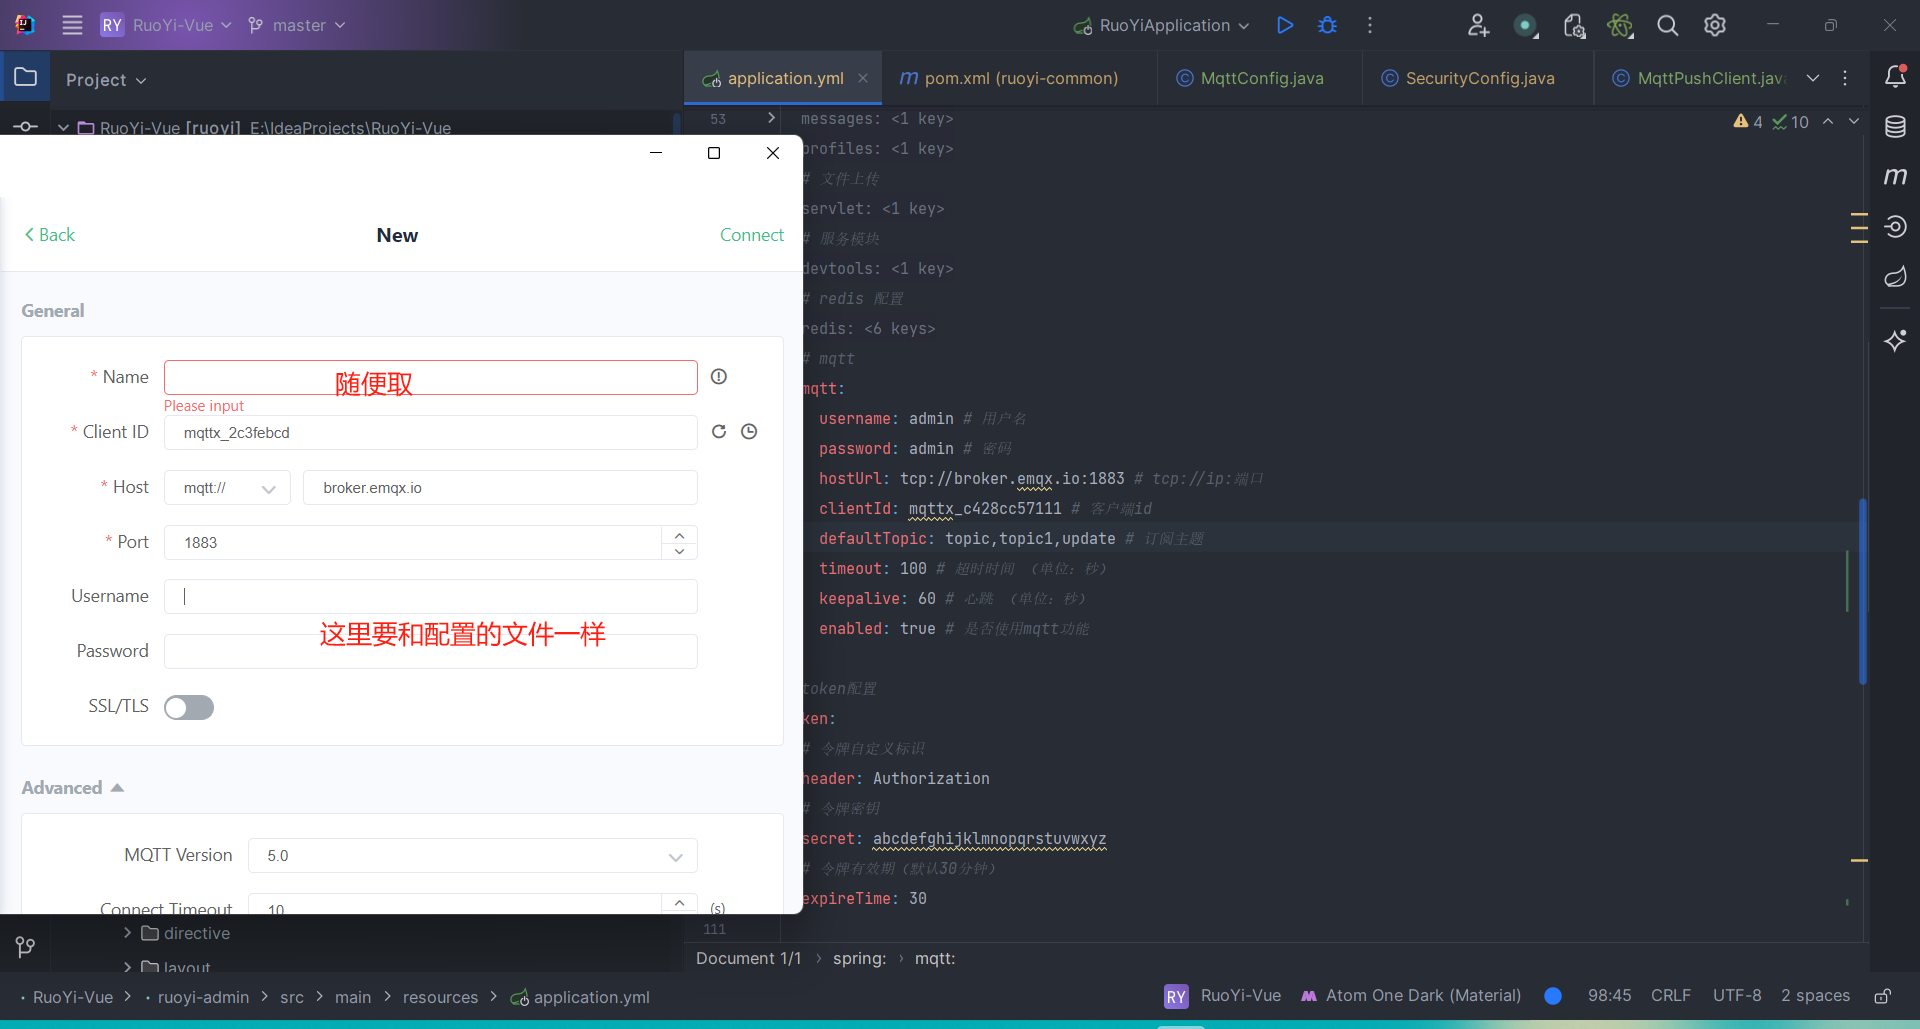
2.在ruoyi-admin模块下的application.yml加入以下配置,加在spring下。
1
2
3
4
5
6
7
8
9
10
|
mqtt:
username: admin
password: admin
hostUrl: tcp://broker.emqx.io:1883
clientId: mqttx_c428cc57111
defaultTopic: topic,topic1,update
timeout: 100
keepalive: 60
enabled: true
|
3.在Ruoyi-common\src\main\java\com\superVisualization\common\utils目录下新建mqtt文件夹,添加以下三个文件
MqttConfig.java
1
2
3
4
5
6
7
8
9
10
11
12
13
14
15
16
17
18
19
20
21
22
23
24
25
26
27
28
29
30
31
32
33
34
35
36
37
38
39
40
41
42
43
44
45
46
47
48
49
50
51
52
53
54
55
56
57
58
59
60
61
62
63
64
65
66
67
68
69
70
71
72
73
74
75
76
77
78
79
80
81
82
83
84
85
86
87
88
89
90
91
92
93
94
95
96
97
98
99
100
101
102
103
104
105
106
107
108
109
110
111
112
113
114
115
116
|
@Component
@ConfigurationProperties("spring.mqtt")
public class MqttConfig {
@Autowired
private MqttPushClient mqttPushClient;
private String username;
private String password;
private String hostUrl;
private String clientId;
private String defaultTopic;
private int timeout;
private int keepalive;
private boolean enabled;
public String getUsername() {
return username;
}
public void setUsername(String username) {
this.username = username;
}
public String getPassword() {
return password;
}
public void setPassword(String password) {
this.password = password;
}
public String getHostUrl() {
return hostUrl;
}
public void setHostUrl(String hostUrl) {
this.hostUrl = hostUrl;
}
public String getClientId() {
return clientId;
}
public void setClientId(String clientId) {
this.clientId = clientId;
}
public String getDefaultTopic() {
return defaultTopic;
}
public void setDefaultTopic(String defaultTopic) {
this.defaultTopic = defaultTopic;
}
public int getTimeout() {
return timeout;
}
public void setTimeout(int timeout) {
this.timeout = timeout;
}
public int getKeepalive() {
return keepalive;
}
public void setKeepalive(int keepalive) {
this.keepalive = keepalive;
}
public boolean isEnabled() {
return enabled;
}
public void setEnabled(boolean enabled) {
this.enabled = enabled;
}
@Bean
public MqttPushClient getMqttPushClient() {
if(enabled == true){
String mqtt_topic[] = StringUtils.split(defaultTopic, ",");
mqttPushClient.connect(hostUrl, clientId, username, password, timeout, keepalive);
for(int i=0; i<mqtt_topic.length; i++){
mqttPushClient.subscribe(mqtt_topic[i], 0);
}
}
return mqttPushClient;
}
}
|
MqttPushClient.java
1
2
3
4
5
6
7
8
9
10
11
12
13
14
15
16
17
18
19
20
21
22
23
24
25
26
27
28
29
30
31
32
33
34
35
36
37
38
39
40
41
42
43
44
45
46
47
48
49
50
51
52
53
54
55
56
57
58
59
60
61
62
63
64
65
66
67
68
69
70
71
72
73
74
75
76
77
78
79
80
81
82
83
84
85
86
87
88
89
90
91
92
93
94
95
96
| @Component
public class MqttPushClient {
private static final Logger logger = LoggerFactory.getLogger(MqttPushClient.class);
@Autowired
private PushCallback pushCallback;
private static MqttClient client;
private static MqttClient getClient() {
return client;
}
private static void setClient(MqttClient client) {
MqttPushClient.client = client;
}
public void connect(String host, String clientID, String username, String password, int timeout, int keepalive) {
MqttClient client;
try {
client = new MqttClient(host, clientID, new MemoryPersistence());
MqttConnectOptions options = new MqttConnectOptions();
options.setCleanSession(true);
options.setUserName(username);
options.setPassword(password.toCharArray());
options.setConnectionTimeout(timeout);
options.setKeepAliveInterval(keepalive);
MqttPushClient.setClient(client);
try {
client.setCallback(pushCallback);
client.connect(options);
} catch (Exception e) {
e.printStackTrace();
}
} catch (Exception e) {
e.printStackTrace();
}
}
public AjaxResult publish(int qos, boolean retained, String topic, String pushMessage) {
MqttMessage message = new MqttMessage();
message.setQos(qos);
message.setRetained(retained);
message.setPayload(pushMessage.getBytes());
MqttTopic mTopic = MqttPushClient.getClient().getTopic(topic);
if (null == mTopic) {
logger.error("topic not exist");
}
MqttDeliveryToken token;
try {
token = mTopic.publish(message);
token.waitForCompletion();
return success();
} catch (MqttPersistenceException e) {
e.printStackTrace();
return error();
} catch (MqttException e) {
e.printStackTrace();
return error();
}
}
public void subscribe(String topic, int qos) {
logger.info("开始订阅主题" + topic);
try {
MqttPushClient.getClient().subscribe(topic, qos);
} catch (MqttException e) {
e.printStackTrace();
}
}
}
|
PushCallback.java
1
2
3
4
5
6
7
8
9
10
11
12
13
14
15
16
17
18
19
20
21
22
23
24
25
26
27
28
29
30
31
32
33
34
35
| (Throwable throwable) {
logger.info("连接断开,可以做重连");
if (client == null || !client.isConnected()) {
mqttConfig.getMqttPushClient();
}
}
@Override
public void messageArrived(String topic, MqttMessage mqttMessage) throws Exception {
logger.info("接收消息主题 : " + topic);
logger.info("接收消息Qos : " + mqttMessage.getQos());
logger.info("接收消息内容 : " + new String(mqttMessage.getPayload()));
_topic = topic;
_qos = mqttMessage.getQos()+"";
_msg = new String(mqttMessage.getPayload());
}
@Override
public void deliveryComplete(IMqttDeliveryToken iMqttDeliveryToken) {
logger.info("deliveryComplete---------" + iMqttDeliveryToken.isComplete());
}
public String receive() {
JSONObject jsonObject = new JSONObject();
jsonObject.put("topic", _topic);
jsonObject.put("qos", _qos);
jsonObject.put("msg", _msg);
return jsonObject.toString();
}
}
|

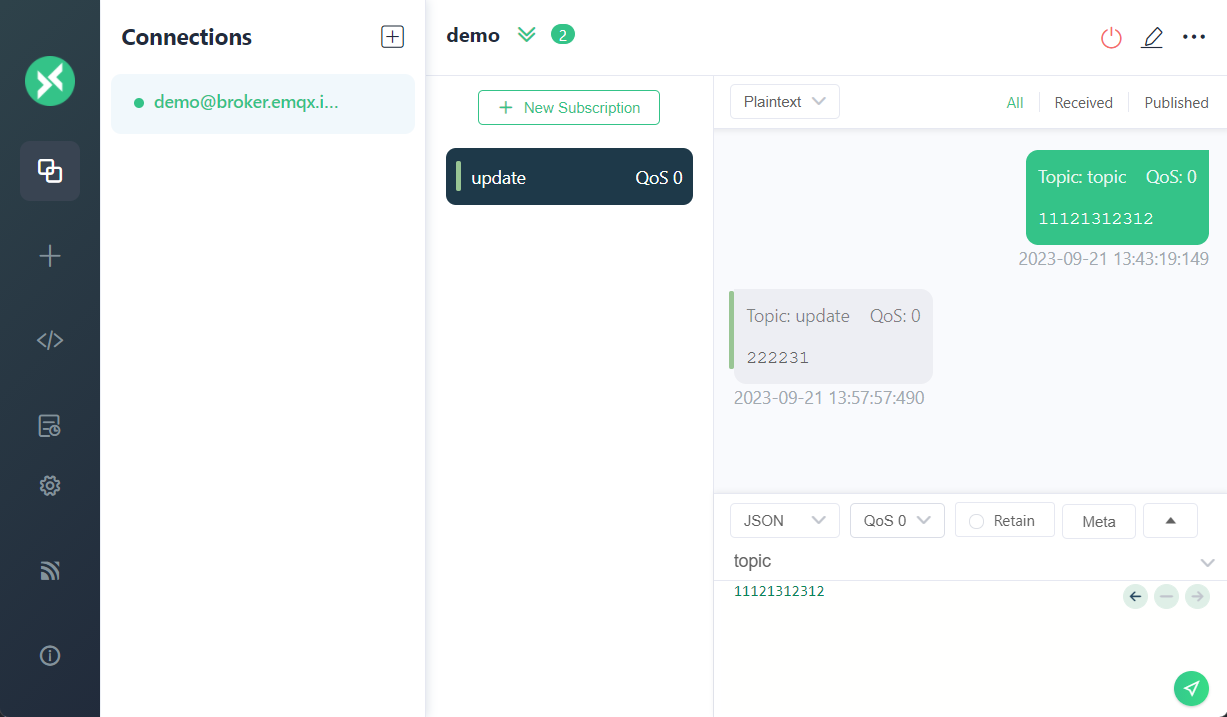
打开软件,新建连接,点击connect连接。
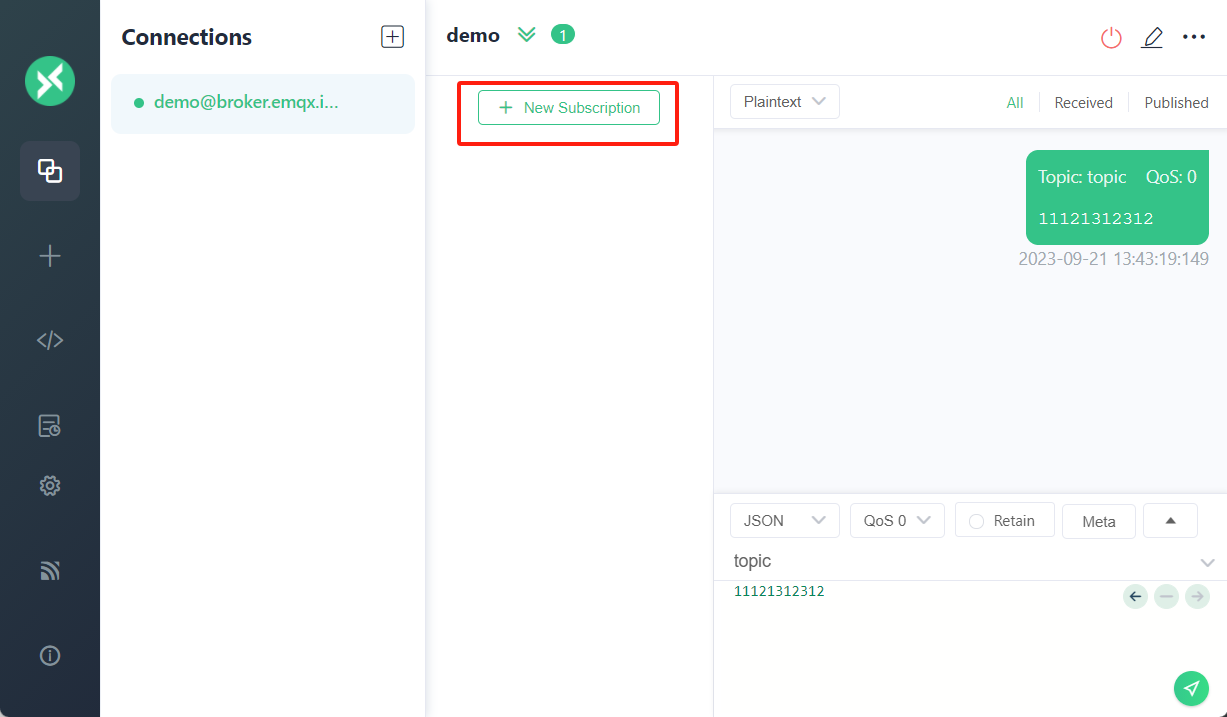
1.模仿客户端定义服务器主题发送消息
主题(topic)
2.客户端发布消息给服务端
在原来的mqtt文件夹添加以下文件
MqttController.java
1
2
3
4
5
6
7
8
9
10
11
12
13
14
| @RestController
@RequestMapping("/mqtt")
public class MqttController {
@ResponseBody
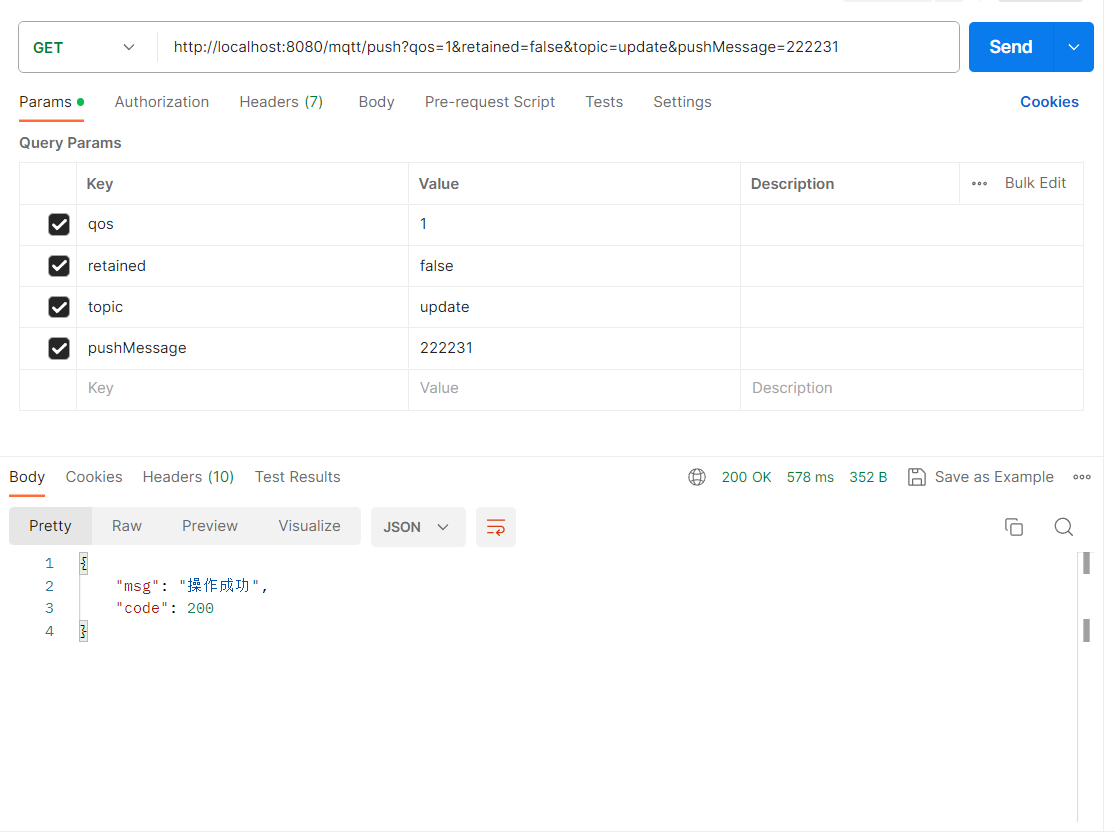
@GetMapping("/push")
public AjaxResult push(@Param("qos") int qos, @Param("retained") boolean retained, @Param("topic") String topic, @Param("msg") String pushMessage){
MqttPushClient mqttPushClient = new MqttPushClient();
return mqttPushClient.publish(qos, retained, topic, pushMessage);
}
}
|
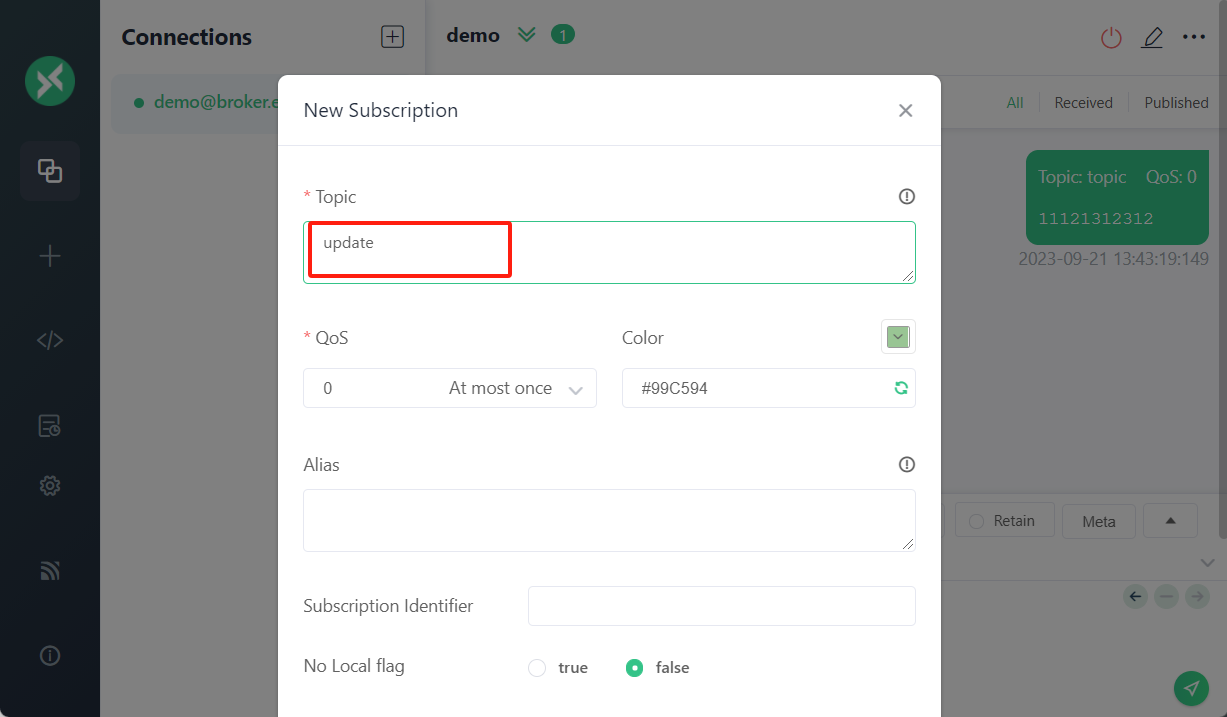
首先在MQTT X软件里面订阅主题(update)
然后使用postman进行调用
MQTT X接收到的内容
谢谢你的阅读,菠萝屋祝你有美好的一天!!!